Can one ever have too much in sewing paraphernalia? Is is wrong to want to try out another product or even better WIN products, fabrics or patterns? I think not. I am fortunate to have acquired the Turbo Teal New Home Janome Sewing Machine.
It is a basic machine with 10 stitch capabilities and a reverse lever. It's a lightweight 5lb machine. It arrived in an inspirational box.

I wouldn't consider myself an advanced "sew-est". I still have issues with placket pockets, my continuous free motion ability, color theory and most of all
time management.

This was a test run on the stitches this machine can sew.
Later while I was straightening my studio, I found a "fabric test". I had fused fabrics and batting onto black stabilizer to practice stitches and audition thread colors. It was for a landscape quilt which is part of this challenge.
The first 57 quilts are a traveling quilt show during 2014 and 2015.
Omitting the white on grey stitching (landscape practice), I was able to maneuver the fabric piece. Then tried adding a binding technique and used the reverse lever to create this.


Here is the back. This tension is at factory setting. Although it cannot make circles, I think many creative projects away from home could be created with this Turbo Teal.
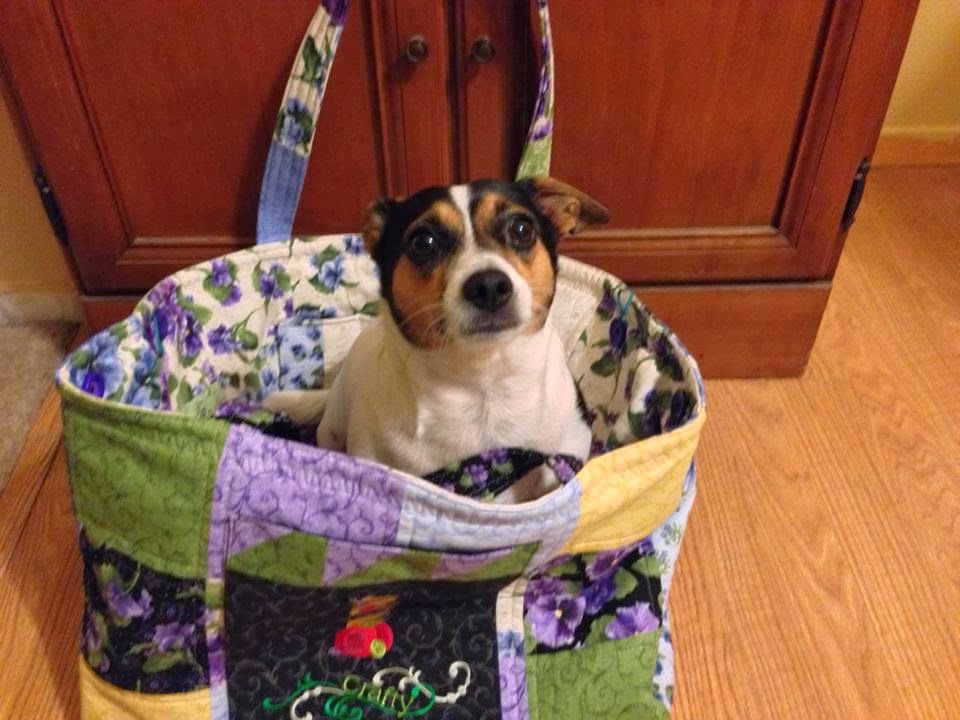
Now it needed a carrying case.
I found this travel case tutorial.
It's a good tutorial to refer for this style of a case.
Perfect for the 5lb-er.
I drafted a pattern similar to the directions but modified it for Turbo. I also quilted the top portion.

I wanted to try Kraft-tex, having purchased it when it appeared on market.
(It is recommended to pre-wash in HOT)
This case would have an outside pocket.
I used this image
with 12 wt wool thread and a 70/10 universal needle.

Wash-away stabilizer was not the best idea, next time I'll use a firm permanent type. I like the loft the 12 wt wool thread creates, but changed to a 40wt Rayon thread towards the "eyes" portion of the stitch-out due to machine jams. The stitches tore the Kraft-tex in different areas possibly due to the 12wt thread and the wrong stabilizer. It was noticeable to me, so I fused a pocket size fabric swatch on the back and touched it up with a black fabric marker on front.

This is just a sample of the buttonhole stitches by my machine. I was auditioning one for the outside pocket placement and to adjust tension.
I'm not a perfectionist, and with this product one should be. Whatever stitch holes are made - they stay permanently. That's why I did not redo the outline box of skipped stitches. Not sure why it skipped - it probably needed a new 70/10 needle. I may go back and hand stitch it to perfection.

Another after thought, when using sentiment tape, make sure it faces down from both ends.

There was enough left-over lining fabric to make two inside pockets. A 6.5" square ruler can fit in either pocket.
I also top-stitched the 4 upper "box" corners on the seam line. It helps the lining from shifting.

The sewing machine pad was once a bedside organizer, but now has an attached grip pad underneath.
I created an equipment "ditty" bag for the plug ins.

On a
negative note, this Janome lacks a built-in light. So, I purchased in
teal color, a flexible LED light and mounted it on the machine. I have also marked a 1/4" from the needle position on the bed with washi tape for hopefully accurate piecing.

It's raring to go.....Turbo Style!
(thank you again Sew4Home!)


